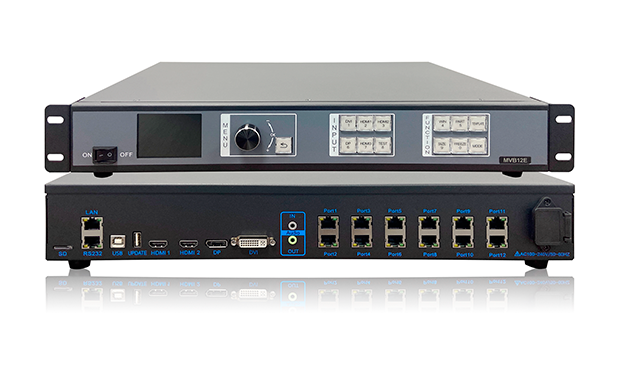
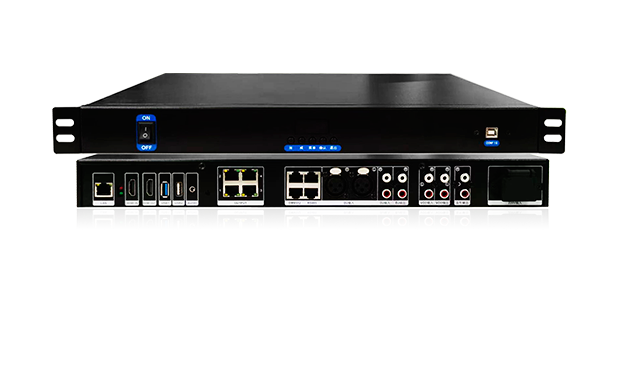
Two-in-One Video Processor

Products Center
- Image Processing
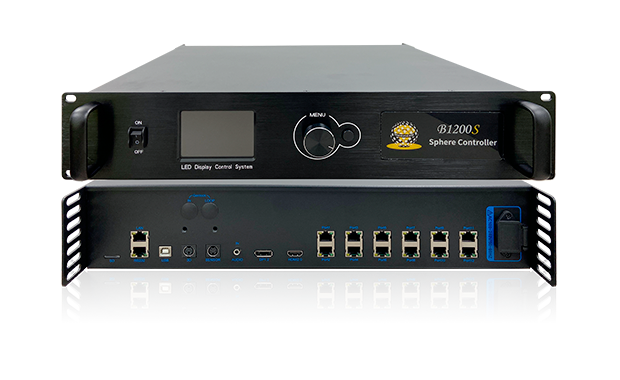
- Control Systems
- Linkage Player Box
- Cloud-Based
- Multimedia Server
-
-
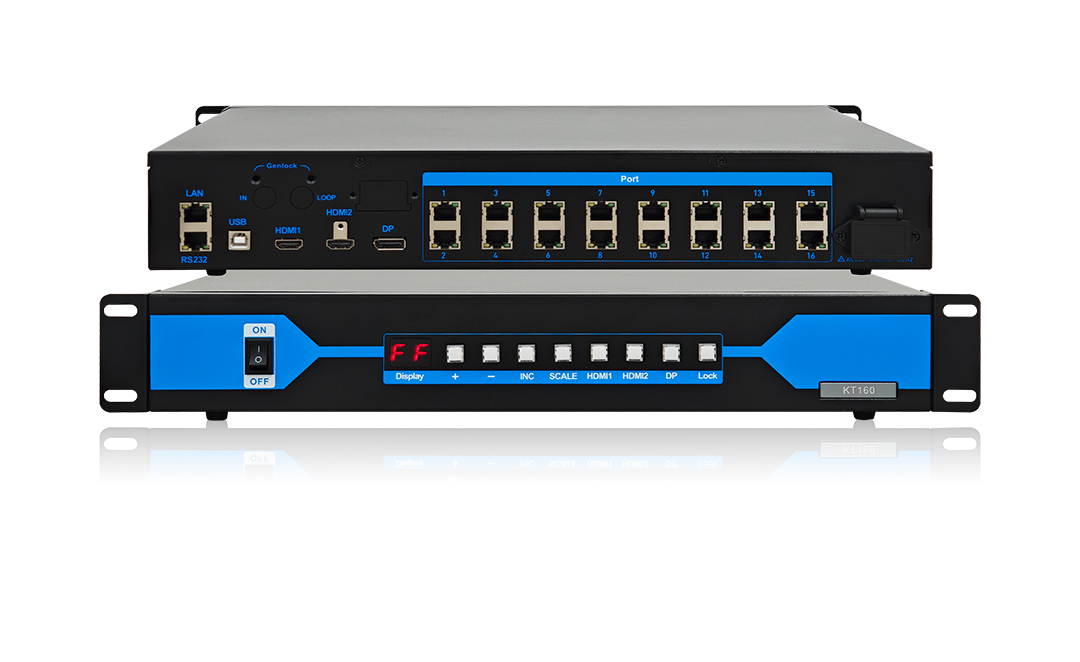
 Video Splicer
 -
 Club & KTV LED Controllers
-
 Sending Controllers
 -
 Special-Shaped Controllers
 -
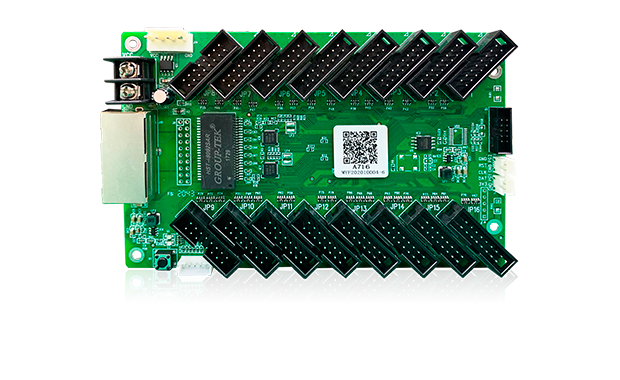 Receiving Card Series
-
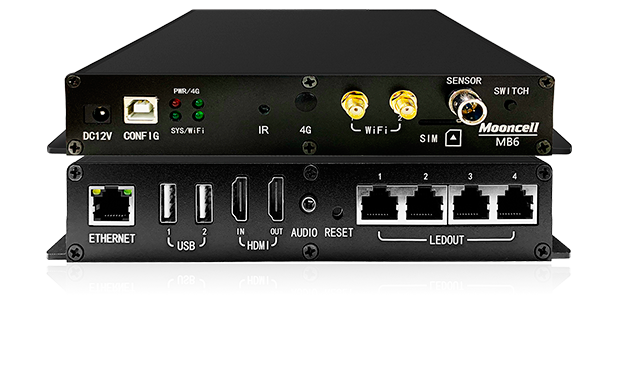 Media Player
 -
 Cloud Platform
-
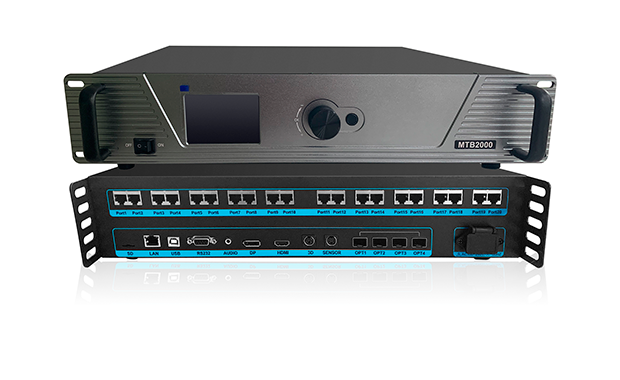
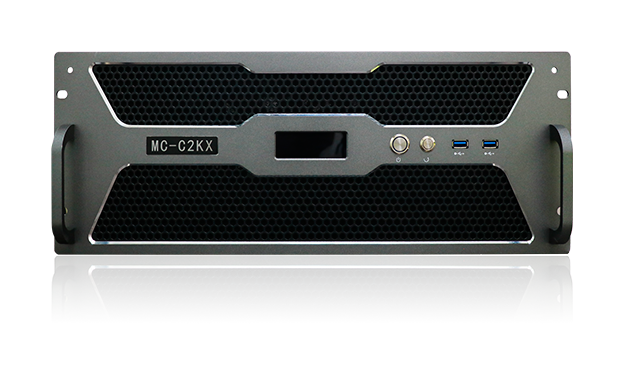 Multimedia Server